Windows 11 is Microsoft’s latest operating system, offering a modern interface, improved security features, productivity enhancements, and better performance. As Windows 10 support comes to an end, more users are preparing to upgrade. However, not every computer meets the system requirements. This guide explains how to install Windows 11, the requirements, the benefits, and what to do if your PC is unsupported.
What You Need Before Installing Windows 11
System Requirements
To successfully upgrade or install Windows 11, Microsoft requires:
-
Processor: 1GHz or faster, 64-bit, dual-core or more
-
RAM: Minimum 4GB
-
Storage: 64GB or more
-
Firmware: UEFI with Secure Boot
-
TPM Version: Trusted Platform Module (TPM) 2.0
-
Graphics: DirectX 12 compatible
-
Display: At least 720p resolution
These requirements ensure Windows 11 runs smoothly and securely.
Benefits of Windows 11
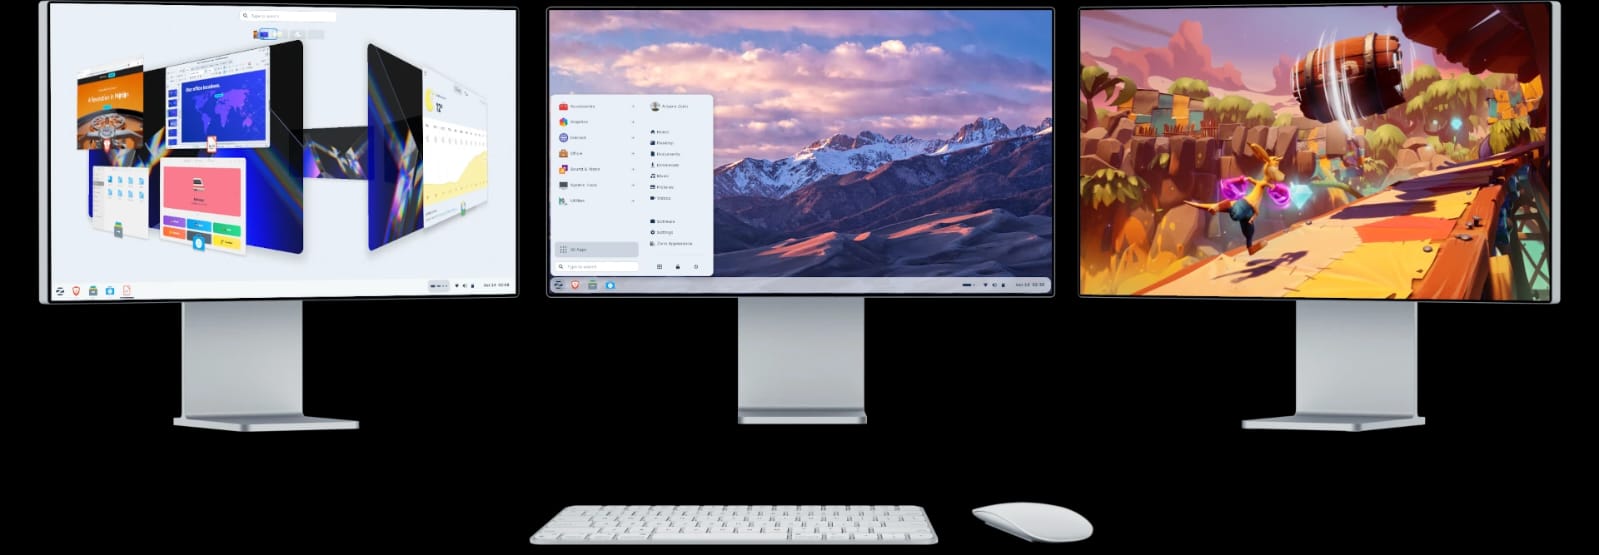
1. Modern and Cleaner Interface
Windows 11 comes with rounded windows, a centered taskbar, new icons, and a more modern experience inspired by modern computing trends.
2. Improved Security
With TPM 2.0 and Secure Boot enabled, Windows 11 provides stronger defenses against ransomware, malware, unauthorized access, and firmware-level threats.
3. Enhanced Performance
Boot times, apps, and background performance are noticeably faster, especially on SSD-based systems.
4. Better Productivity
-
Snap layouts and snap groups
-
Virtual desktops
-
Better multitasking
-
Widgets and improved search
5. Gaming and Graphics Improvements
Features like Auto HDR and DirectStorage (on supported hardware) improve gaming performance and reduce loading times.
How to Install Windows 11
There are multiple ways to install the OS, depending on your situation.
Method 1: Upgrade Through Windows Update
-
Open Settings
-
Go to Update & Security
-
Click Windows Update
-
If your PC is compatible, you’ll see “Upgrade to Windows 11”
-
Click Download and Install
Method 2: Installing Using Installation Assistant
-
Download the Windows 11 Installation Assistant from Microsoft’s official website
-
Run the program
-
Follow on-screen instructions until installation is complete
Method 3: Clean Install Using Bootable USB
-
Download Microsoft’s Media Creation Tool
-
Insert a USB flash drive (8GB or more)
-
Use the tool to create a bootable installer
-
Restart and boot from the USB
-
Choose Install Now
-
Format or select a drive and continue
This method is useful when installing on a new PC or replacing an existing installation.
What If Your PC Does Not Meet the Requirements?
Many older systems may fail Microsoft’s compatibility check due to missing TPM 2.0, older processors, or lack of Secure Boot. Users have several options:
Option 1: Enable TPM and Secure Boot in BIOS
Some computers support these features but have them disabled by default.
-
Enter BIOS/UEFI (usually by pressing F2, F10, DEL on startup)
-
Enable TPM under security settings
-
Enable Secure Boot under boot configuration
-
Save and restart
If these were available but disabled, your PC may now qualify.
Option 2: Upgrade Hardware
Users with slightly older systems can often upgrade:
-
Install a TPM module (on compatible motherboards)
-
Enable UEFI mode and disable legacy boot
-
Upgrade RAM or storage where necessary
This allows older systems to pass requirements with minimal spending.
Option 3: Install Windows 11 Without TPM (Unsupported Installation)
While Microsoft does not recommend it, users can install Windows 11 on unsupported PCs using registry bypass methods. The OS will work, but:
-
You may not receive official security updates
-
Microsoft may limit support
-
Long-term stability may vary
This option is used by many advanced users who accept the risks in exchange for modern features.
Option 4: Stay on Windows 10 With Security Extensions
For systems that cannot meet requirements:
-
Microsoft offers Extended Security Updates (ESU) for Windows 10 until October 2026
-
This maintains basic security while buying time to upgrade hardware later
Final Thoughts
Windows 11 represents a significant shift in design, experience and security. Most modern computers can upgrade smoothly, but systems that do not meet requirements are not completely left behind since there are multiple paths forward.
Whether upgrading through standard methods, enabling BIOS features or upgrading hardware, users can continue enjoying a supported and secure operating system beyond the end of Windows 10.
More technical guidance and Windows transition coverage will continue here on CMN and the Cotech Technology Desk.